Follow these steps to set up a webhook in TextCRM:
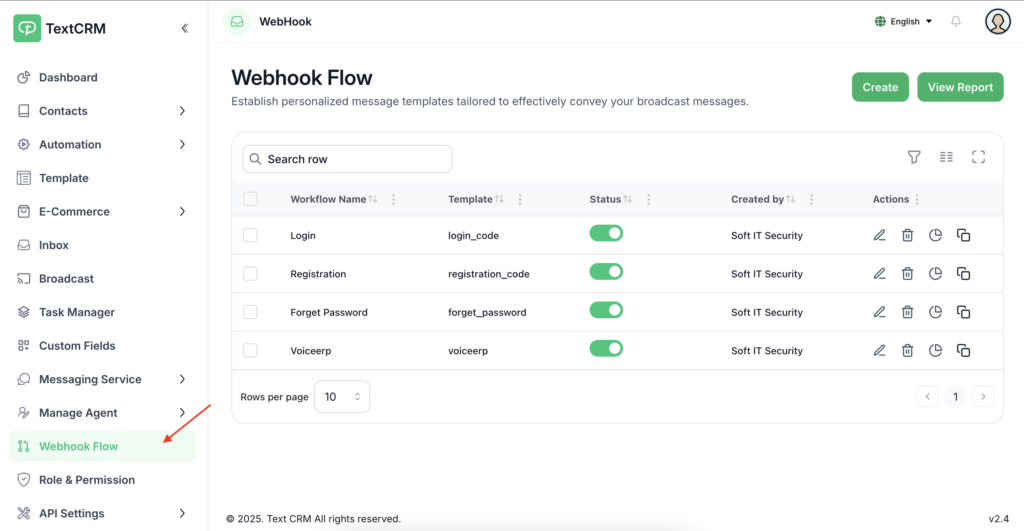
Step 1: Navigate to the Webhook Flow #
Go to the Webhook Flow section in TextCRM.
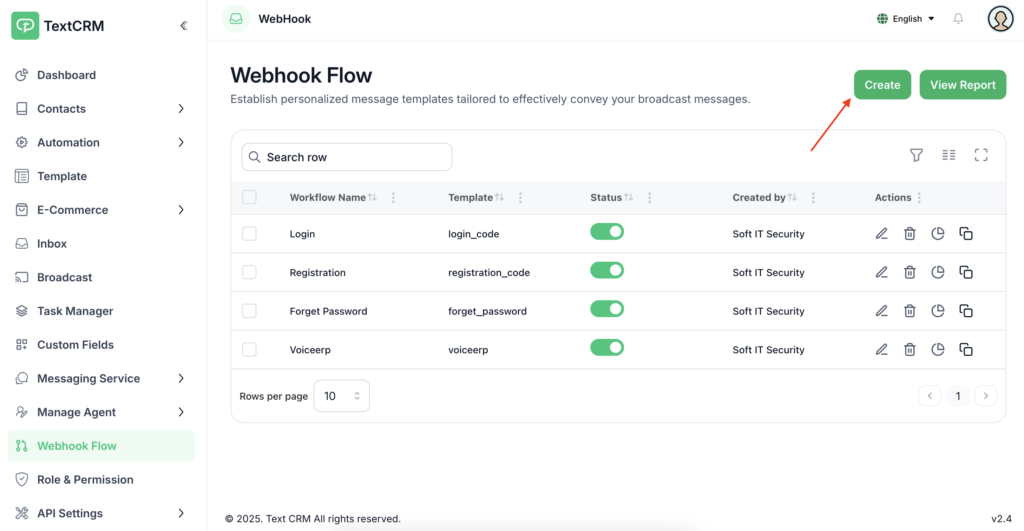
Step 2: Click on the “Create” Menu #
Click the Create button to start setting up a new webhook.
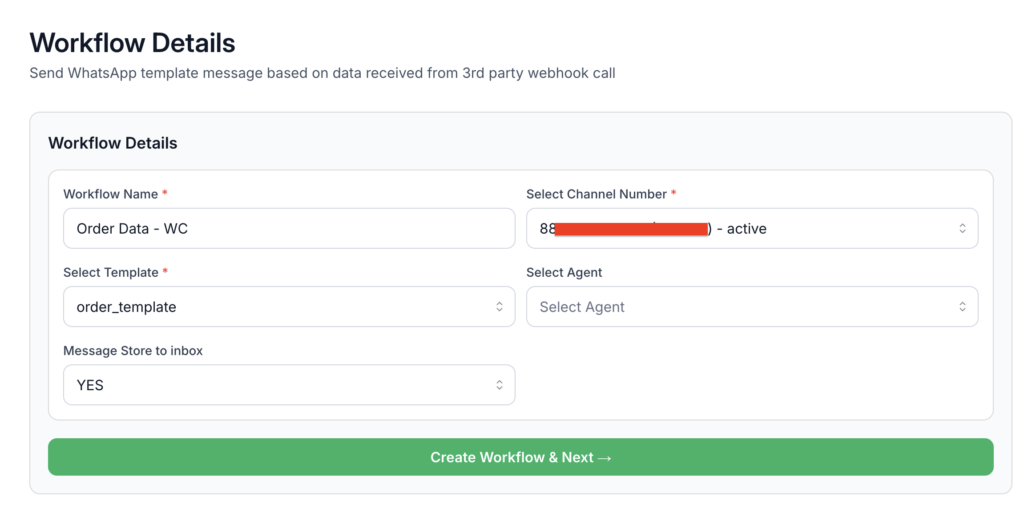
Step 3: Fill Out the Form #
Provide the necessary details:
- Workflow Name – Enter a name for the workflow.
- Select Number – Choose the phone number to associate with the webhook.
- Select Template – Pick a predefined template.
- Assign an Agent (Optional) – If needed, assign an agent to handle the webhook.
- Store Messages in Inbox (Optional) – Enable this option if you want to save the conversation in the system.
⚠ Important:
- Ensure that your Meta app or phone number is connected to TextCRM – Connect
- You must create a template first, or select an existing one – Create
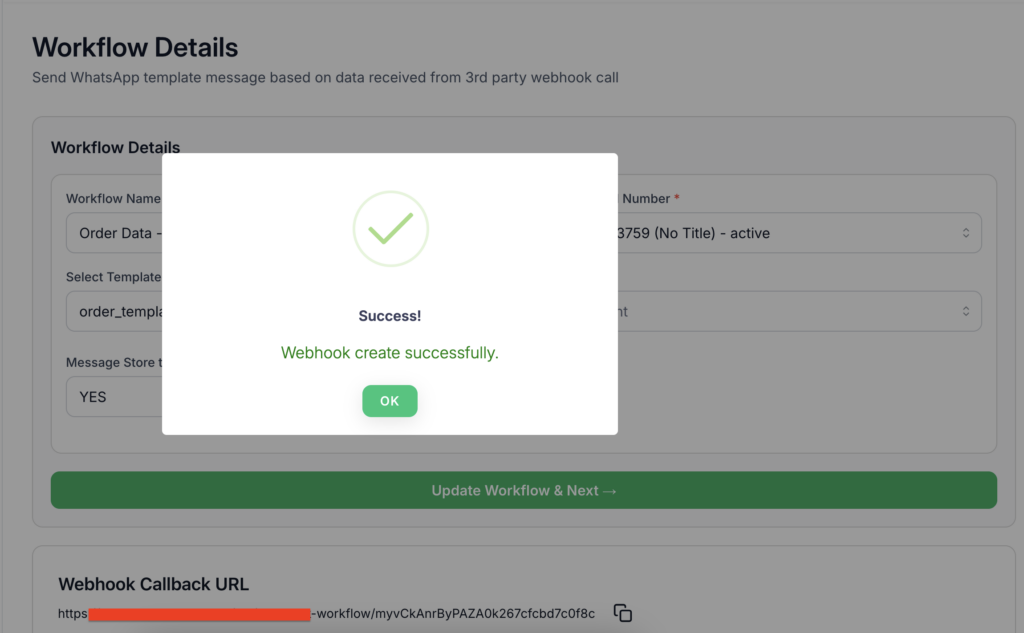
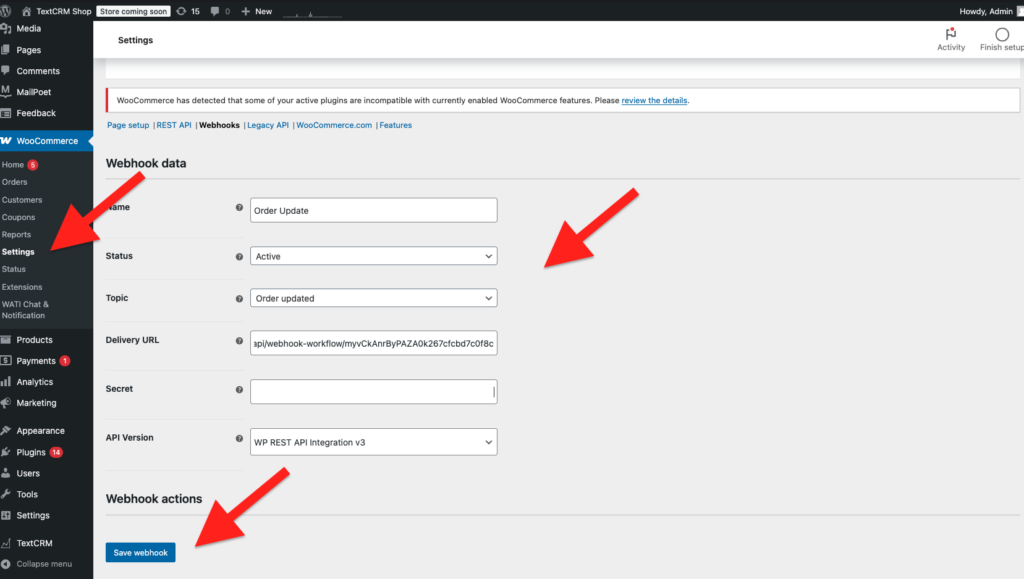
Step 4: Set Up the Webhook Trigger #
From the platform where the webhook will be triggered, generate a sample response. Then, copy the Webhook Callback URL and add it to the respective system.
How to setup Webhook In Woocommarce
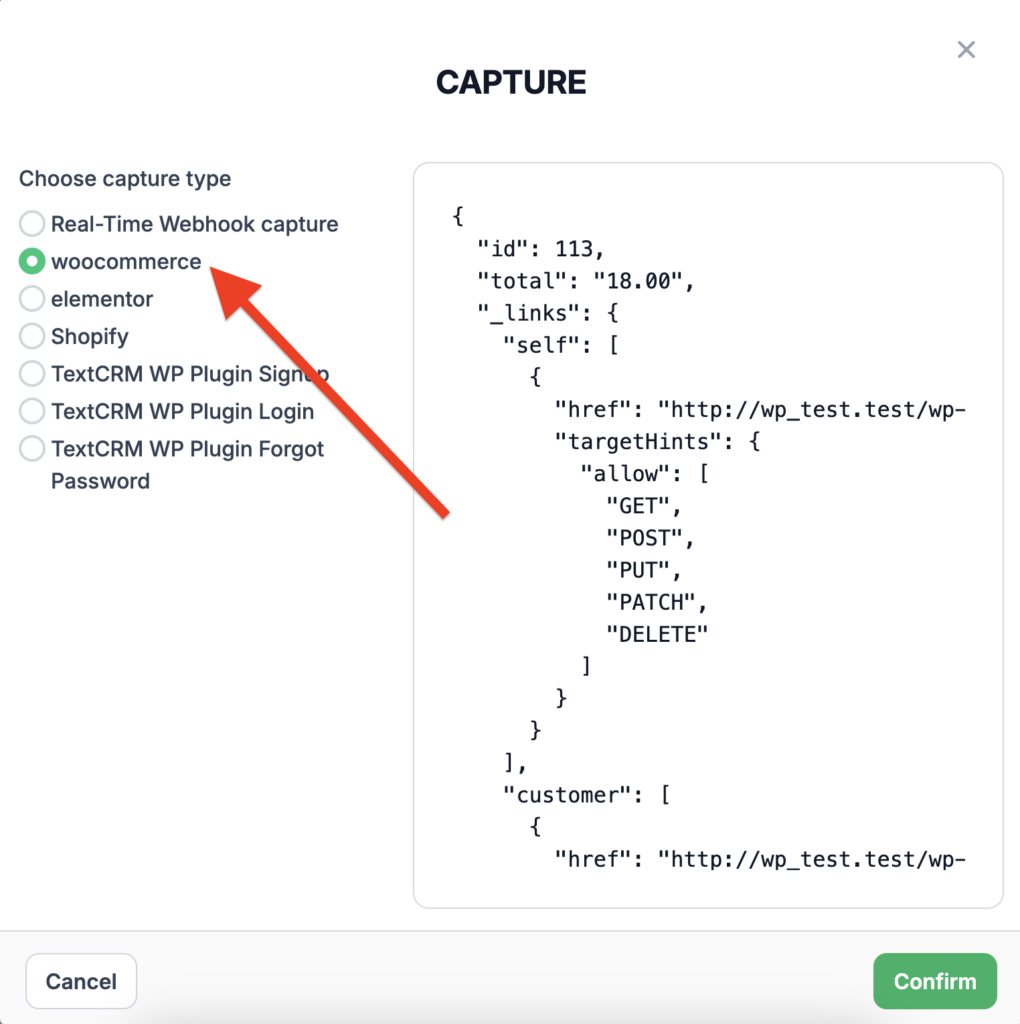
Step 5: Click on “Capture” #
Click the Capture button to initiate data capture from the webhook trigger.
Step 6: Handle Response Data #
A modal will open with the option to:
- Select Real-Time Response, or
- Use one of the Default Responses (Woocommerce) provided by the platform if it matches the expected format.

Step 7: Map the Data #
Map the webhook response fields to the corresponding system fields.
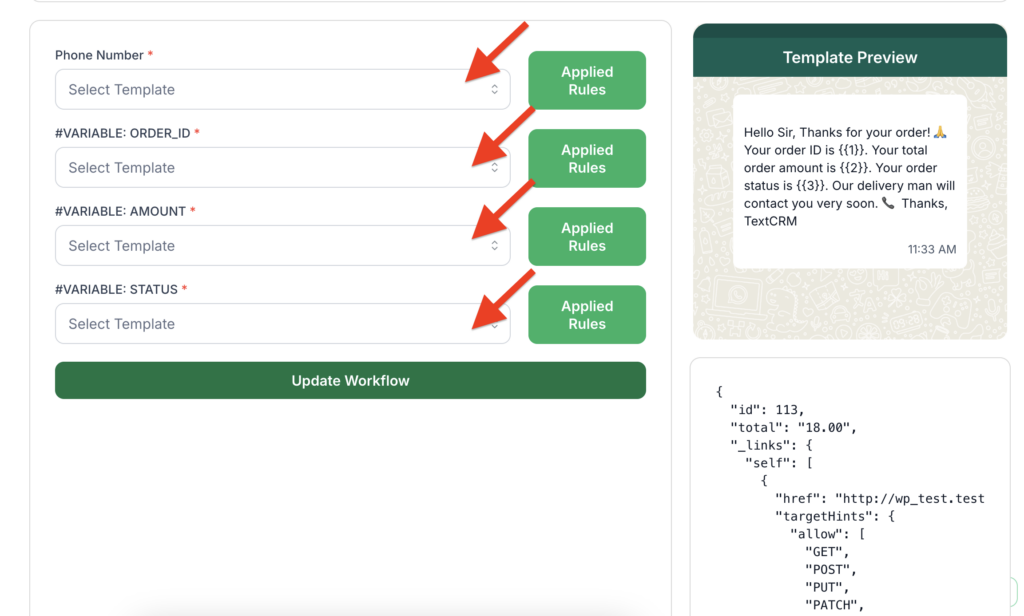
Mapping Data
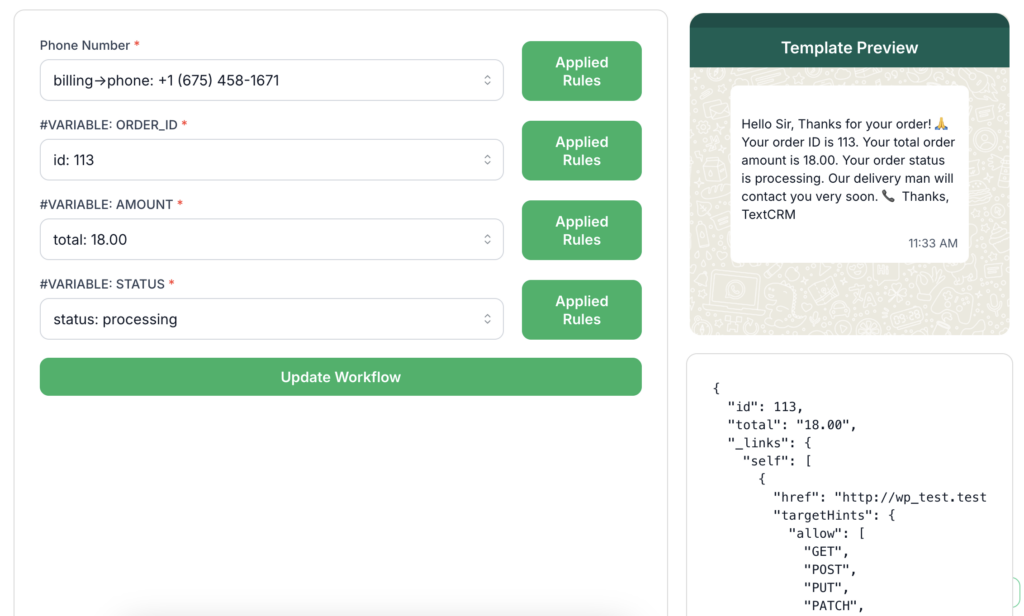
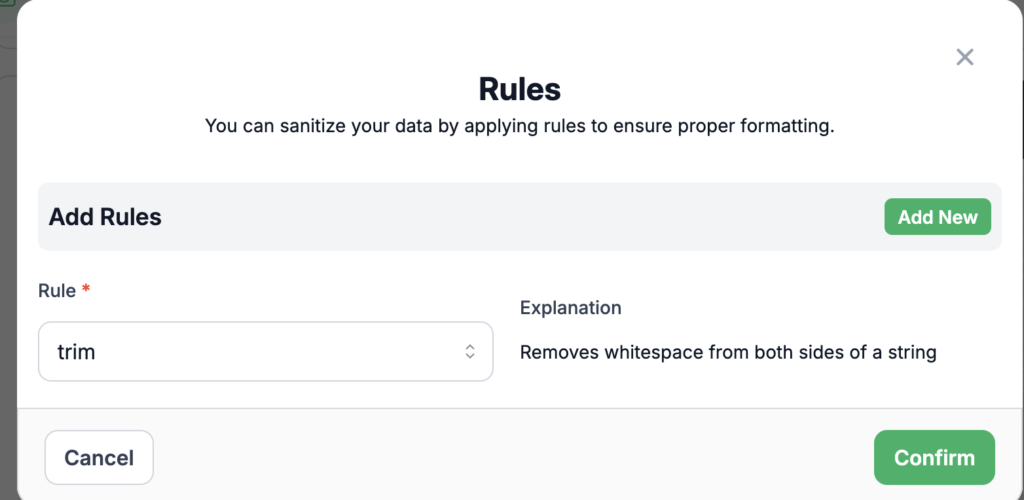
Step 8: Apply Rules (Optional) #
You can set rules for each key in the webhook response, but this step is not mandatory.
Step 9: Click “Update Workflow” #
Once everything is set up, click Update Workflow to save the configuration.
Your Webhook is Now Ready! 🎉 #
Let me know if you need further refinements! 🚀


