TextCRM provides a comprehensive system for managing your customer database through Segments, Lists, and Folders. This structure helps businesses organize, filter, and interact with their customers efficiently. Additionally, custom fields can be created to store additional customer information. Below is a step-by-step guide on how to create, edit, and manage these elements.
1. Adding Contacts
Steps to Add Contacts:
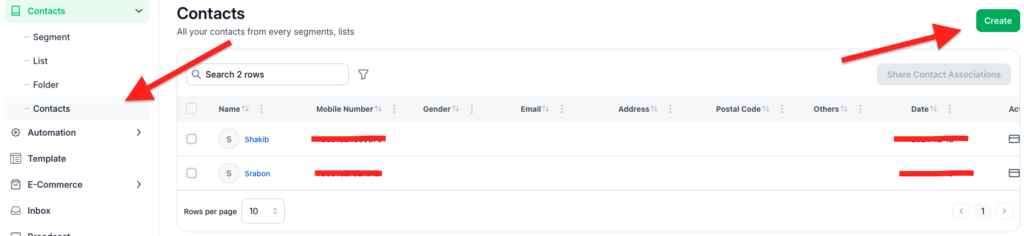
Step 1 : Navigate to the Contacts menu.
Step 2 : Click the New Contact / Create button.
Step 3 : A modal will appear with the following options for adding contacts:
- Google Contacts : Sync contacts directly from your Google account.
- Manually Create : Enter customer information manually.
- Upload by CSV : Import multiple contacts by uploading a CSV file.
- Contact Share : Add contacts shared from other team members.
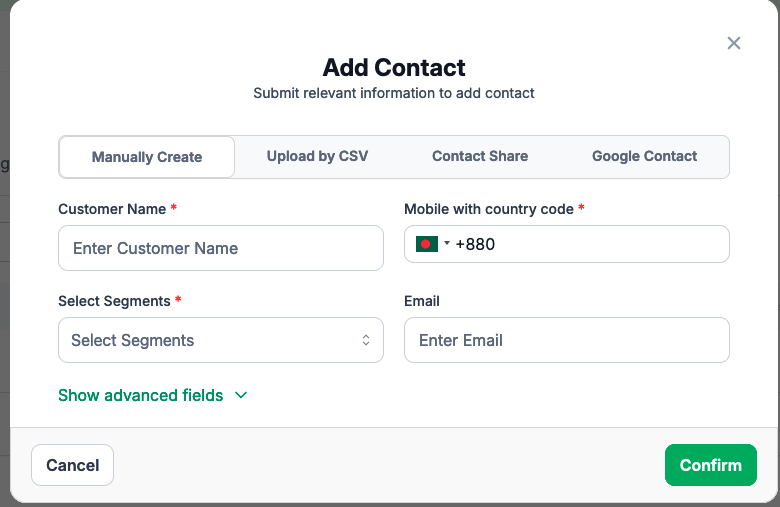
Step 4 : Fill in the required fields:
- Customer Name
- Mobile Number with Country Code
- Email Address
- Segment (Select an existing segment or create a new one)
Step 5 : (Optional) Click Show Advanced Fields to add custom fields like Address, Gender, Postal Code, etc.
Step 6 : Click Confirm to save the contact.


