TextCRM allows you to seamlessly import your Google Contacts into the system. Follow these steps to sync your contacts:
Steps to Sync Google Contacts
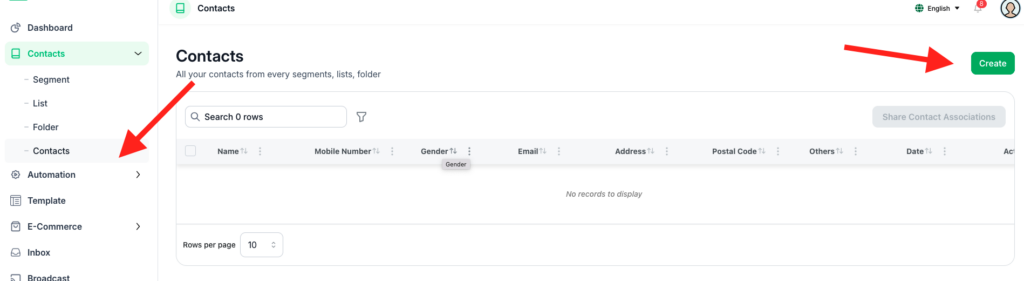
Step 1 : Go to the Contacts Menu
- Navigate to the Contacts section from the main menu.
Step 2 : Open the Modal and Select the “Google Contact” Tab
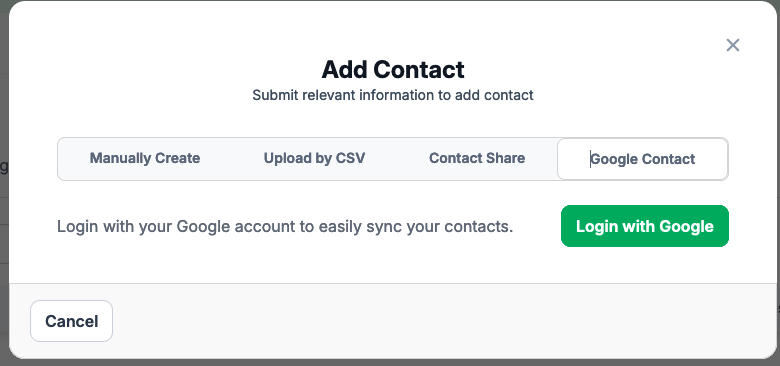
Step 3 : Log in with Google
- Click the Login with Google button.
- Follow the step-by-step prompts to log in to your Google account and grant permission to access your contacts.
Step 4 : View and Confirm Contacts:
- Review the list and confirm to sync the contacts into TextCRM.
- Once connected, your Google Contacts will be displayed in the system.
Step 5 : Save to the System
- After your confirmation, the selected contacts will be saved to TextCRM and ready for use.
Tips for Google Contact Sync: #
- Grant Necessary Permissions: Ensure you grant access for TextCRM to read your Google Contacts during the login process.
- Organize Contacts Post-Sync: Assign synced contacts to appropriate Segments, Lists, or Folders for better management.
- Check for Duplicates: Review your contact list post-sync to avoid duplicates.
By syncing Google Contacts, you can quickly integrate your existing customer data into TextCRM without manual entry.


