Steps to Send Catalog form chat:
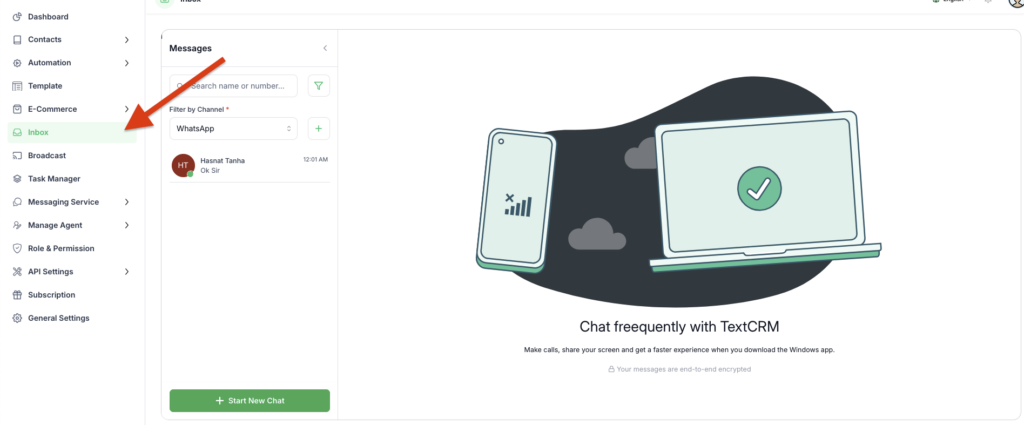
Step 1 : Click on the Inbox module.
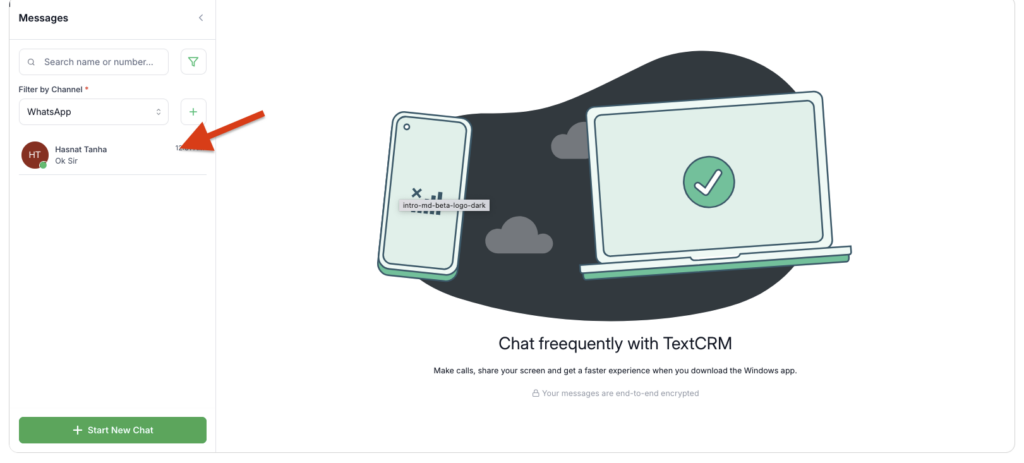
Step 2 : Click Convertation
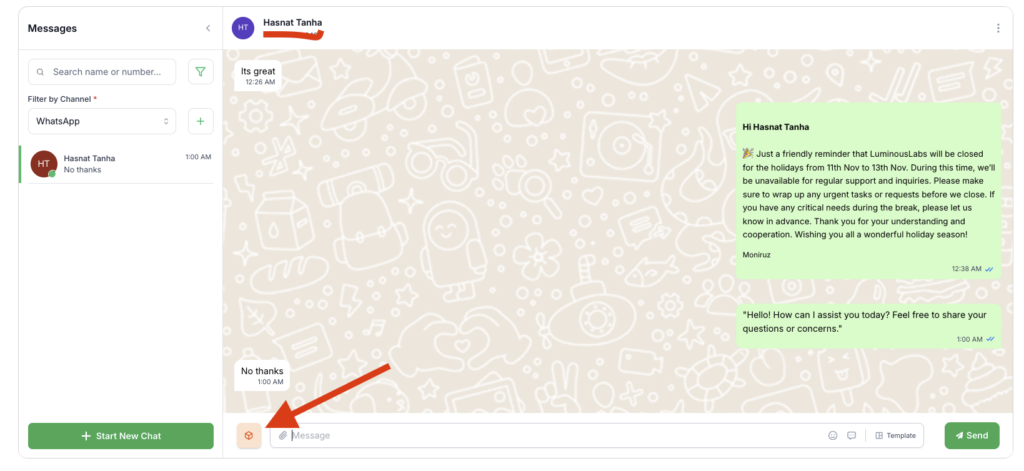
Step 3 : Click Catalog Icon & select which you want to send . You can send single products & group base products
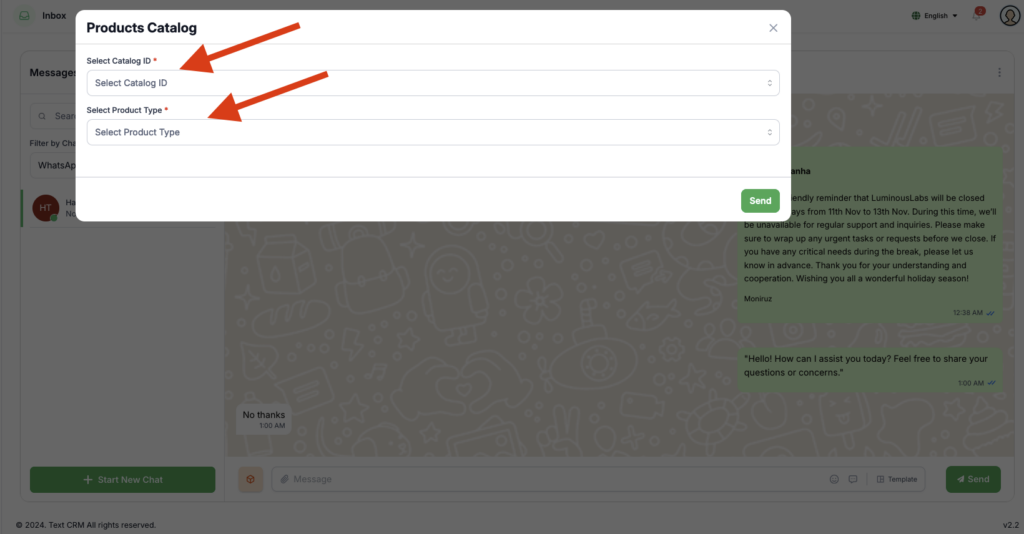
Step 4 : First You need to select Catalog ID
Step 5 : Then select Products type
Note: From here, you can create a group, select a Meta product catalog, and send it to customers.
Step 6 : Click Send Button
Catalog Sync Instructions
Learn how to sync and manage your Meta product catalog
Prerequisites #
- A Meta Business Account
- A Meta Product Catalog created
- In Meta Business Manager, create a new catalog if needed or select an existing one for syncing.
- Admin access to your Meta Business Manager
Sync Steps #
First, connect your Meta Business Account:
- Click the ‘Sync Catalog’ button
- Wait for the sync process to complete
- Review your products in the table
Additional Steps #
- Configure your catalog settings
- Map your product fields
- Set up automatic updates
Important Notes #
- There’s a limit to how often you can sync
- Ensure your product data is accurate and up-to-date
- Check for any sync errors and resolve them promptly
Note: The sync process may take a few minutes depending on your catalog size


