Step 1 : Navigate to the Template menu in TextCRM.
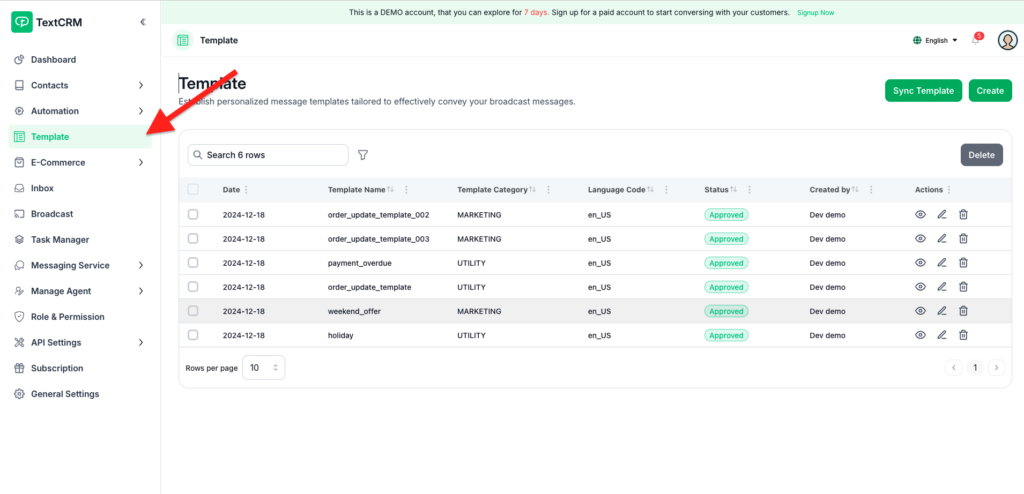
Step 2 : Click the Create button
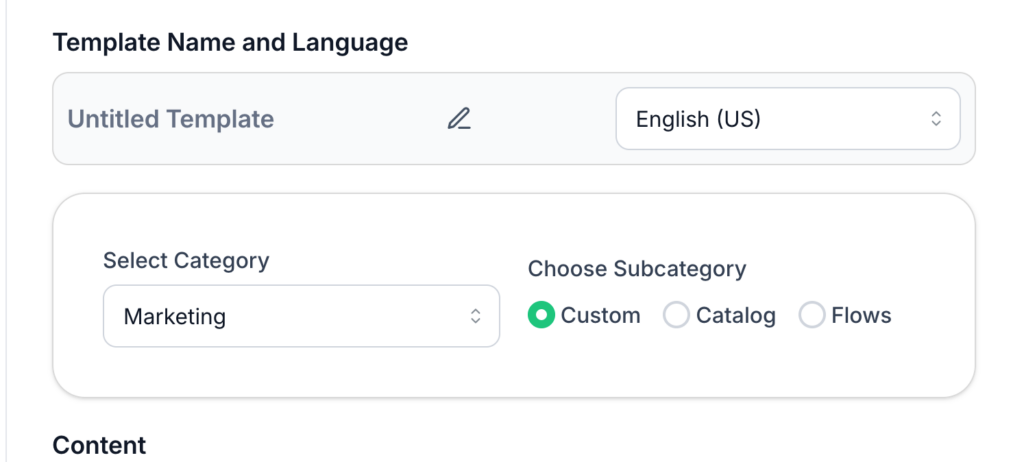
- Template Name (Use underscore to separate words e.g. summer_collection, underscore adds automatically on pressing “SPACE” keyboard button)
- Category & Subcategory
- Language
- Message Body (Enter parameters in this form {{parameter}}. Upon broadcast, the variable name will be replaced with the corresponding contact attribute values)
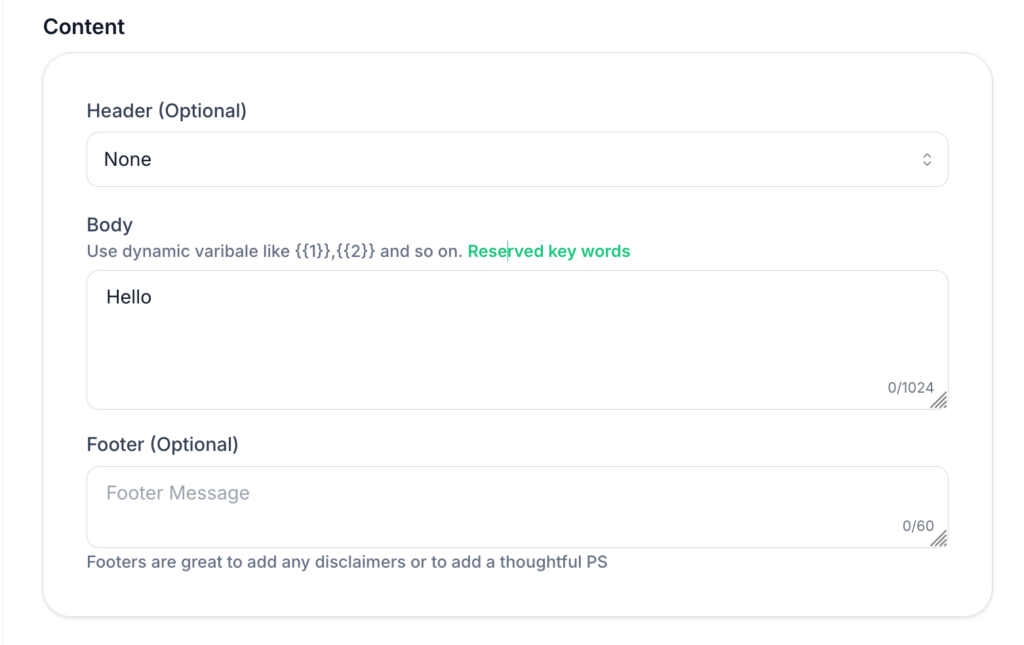
Step 3 : Manage Content
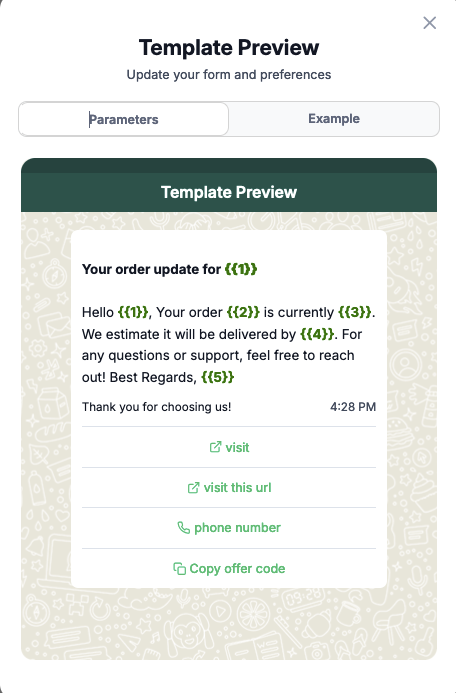
Header (Optional)
- Add a short header to summarize the template’s purpose (optional).
Body
- Write the main content of the message.
- Use placeholders like
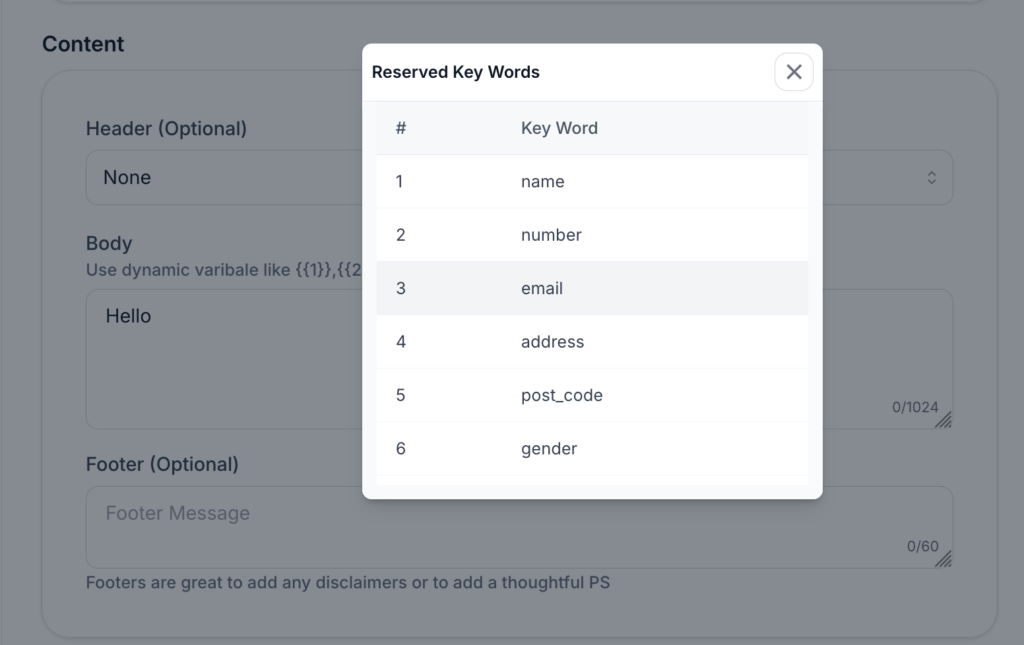
{{1}},{{2}}for dynamic variables as needed. - Avoid using reserved keywords.
Footer (Optional)
- Add a footer message for disclaimers or additional notes.
Step 4 : Manage Buttons
Select the type of button:
- You can choose from three types of buttons:
- None: No buttons will be included in the message.
- Call to Action: Allows you to insert actionable buttons such as:
- Visit Website: Links to a webpage.
- Call Now: Allows customers to make a phone call.
- Copy Code: Shares a code or text.
- Quick Reply: Adds predefined replies that customers can select with a single tap.

Step 5 : Choose a button option
- None: Select this if you do not want to add any buttons.
- Call to Action: Choose this to insert buttons that direct users to take specific actions (e.g., visit a website or make a call).
- Quick Reply: Select this for predefined responses customers can quickly choose.
Customiz your Buttons
If you select Call to Action, follow these steps:
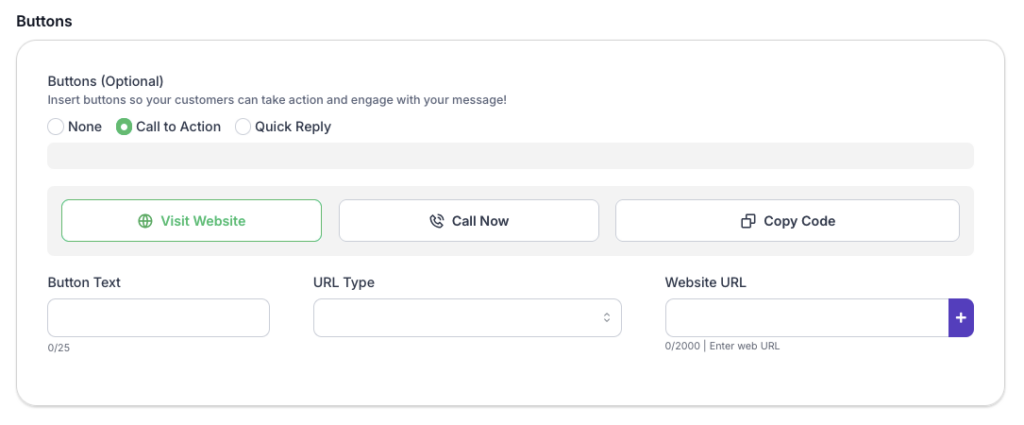
- Visit Website:
- Enter the button text in the “Button Text” field (e.g., “Visit Our Store”).
- Choose the URL type (e.g., Web URL or App URL).
- Enter the website URL in the “Website URL” field (e.g., https://www.example.com).
- Click the + button to save your input.
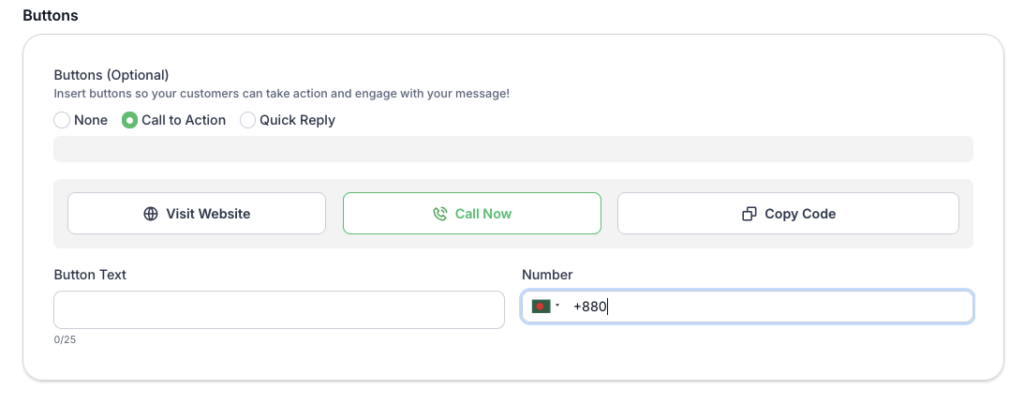
If you select Call now , Follow thes step
- Enter the button text (e.g., “Call Us”).
- Select the country flag dropdown to ensure the correct country code.
- Enter the phone number (e.g., +880123456789).
- Click the + button to save.
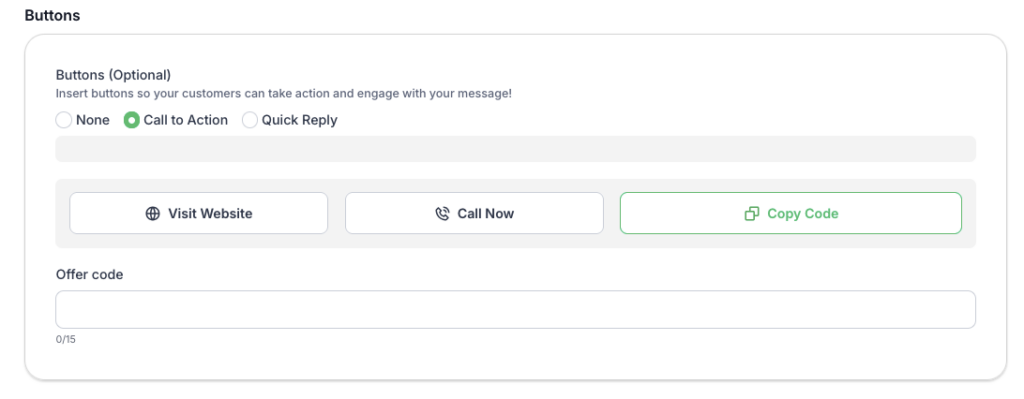
If you select Copy Code , Follow thes step
- Enter the button text (e.g., “Get Discount Code”).
- Enter the offer code (e.g., SAVE10) in the “Offer Code” field.
- Click the + button to save.
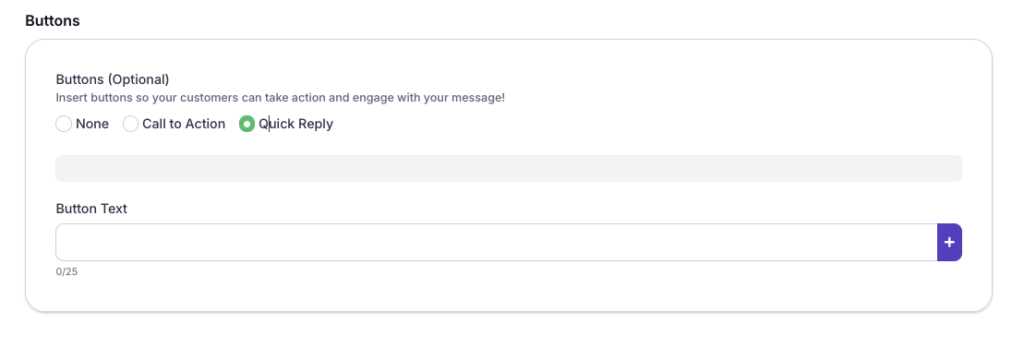
If you select Quick Reply, follow these steps:
- Enter the text for the quick reply in the “Button Text” field (e.g., “Yes, I’m Interested”).
- Click the + button to save.
Note : Once you’ve added the buttons, you’ll see them displayed above the input fields. You can:
- Make edits by changing the text or values in the input fields.
- Click on each button to ensure they behave as expected.
Step 6 : Save and Send
- Ensure all required fields are filled correctly.
- Click Save / Send to Meta Review to confirm your button configuration.
- Include the buttons in your message and send them to your audience.


