TextCRM allows you to upload multiple contacts at once using a CSV file. Follow the steps below to streamline the process:
Steps to Upload Contacts via CSV
Step 1 : Go to the Contacts Menu
- Navigate to the Contacts section from the main menu.
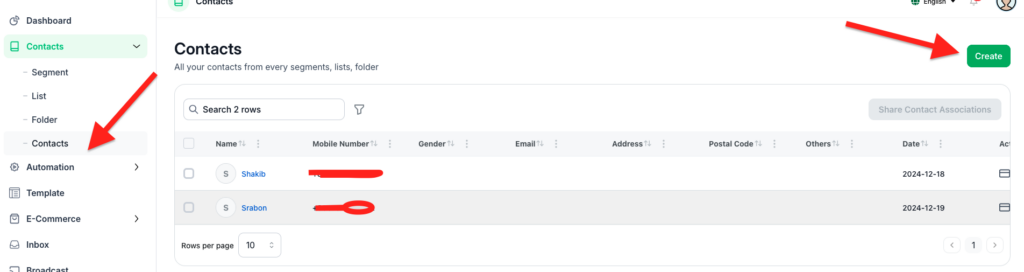
Step 2 : Open the Modal and Select the “Upload by CSV” Tab:
- Click the New Contact button.
- In the modal that appears, switch to the Upload by CSV tab.
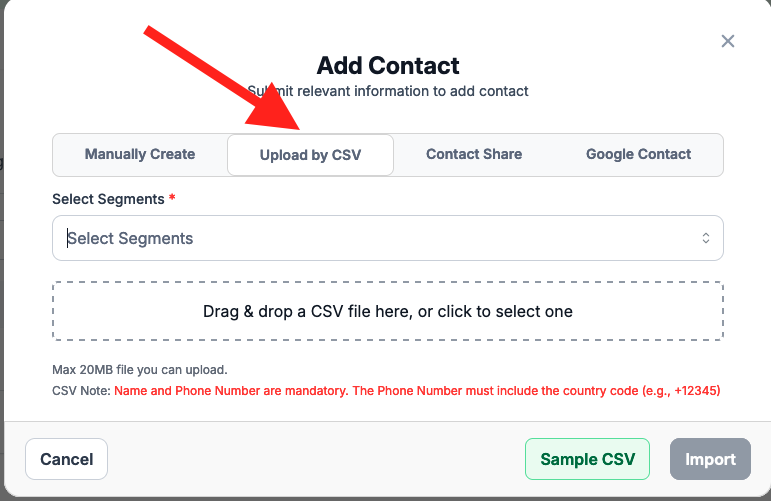
Step 3 : Select a Segment
Choose the segment where you want the contacts to be associated. If no segment exists, create one before proceeding.
Step 4 : Upload the CSV File
- Prepare your CSV file based on the sample CSV format provided in the modal. Ensure all required fields (e.g., Name, Phone Number, Email) are filled correctly.
- Click Choose File or Upload File to select your CSV from your device.
Step 5 : Click Import button
- Once the CSV file is uploaded, click the Import button to start the upload process.
- The system will process the file and add the contacts to the selected segment.
Tips for Uploading via CSV: #
- Follow the Sample CSV Format: Download the sample CSV to ensure proper formatting and required fields are included.
- Validate Data: Double-check your CSV file for errors, such as incorrect phone numbers or missing fields, to avoid upload failures.
- Bulk Uploads: Use this feature to save time by importing multiple contacts at once.
By using the Upload by CSV feature, you can quickly add and organize large volumes of customer data into TextCRM.


